Transfer Your Homemade DVDs to Apple Devices
Advertisement
If you’ve ever made a homemade DVD—maybe from old camcorder footage, a family event, or personal projects—you know how much those memories matter. But times have changed. DVD players aren’t part of most laptops anymore, and carrying around a stack of discs just doesn’t make sense when you’ve got a phone or tablet with you. The good news? You don’t need to give up on your old DVDs. With the right steps, you can move that content straight to your iPad, iPhone, iPod Touch, or practically any other device. Here’s how to do it without getting lost in the tech stuff.
What You’ll Need Before You Start
Let’s start with the basics. To transfer a homemade DVD to your Apple device, you need:
- A computer with a DVD drive
- The homemade DVD (this method is not for commercial or copy-protected discs)
- A DVD ripping program (we’ll explain more on this in a bit)
- A video conversion tool (in the majority of situations, the ripping software will do this)
- iTunes or Finder (whichever your macOS version uses), or a file transfer program
Now, don't panic—this may seem like a lot, but the process is straightforward, and when you do it once, it's a breeze to do again.
Step 1: Rip the DVD to Your Computer
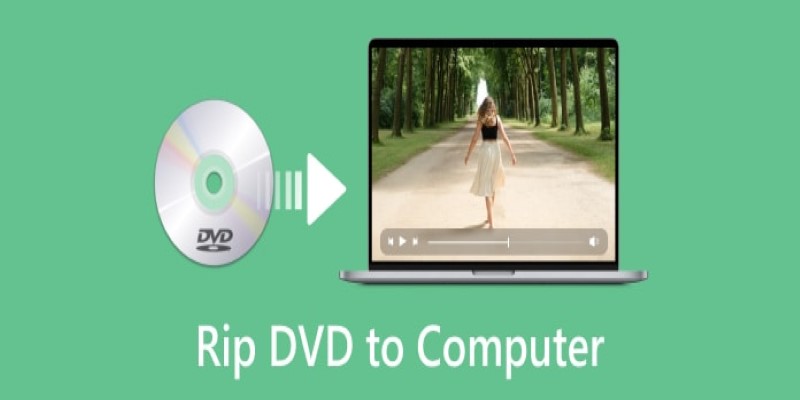
The initial process is to copy the video files from the DVD. That's "ripping." Here, we're dealing with homemade DVDs, so there's no question of breaking any laws. You're not circumventing encryption, and you're not doing anything illegal.
One free program that works well for this is HandBrake. It runs on Windows and macOS and is easy to use even if you don’t usually mess with video software. Once you install it, insert your DVD and open HandBrake.
The program will detect the DVD and show you available titles (these are just different sections or video tracks). Pick the one you want—usually the longest one, which is often the main video. HandBrake lets you choose a format to convert the video into. For Apple devices, go with MP4 and use one of the Apple presets like "iPad" or "iPhone." This ensures that the video plays without any issues.
Once everything’s set, hit Start Encode and wait. The time it takes depends on your computer’s speed and the length of the video.
Step 2: Transfer the File to Your Apple Device
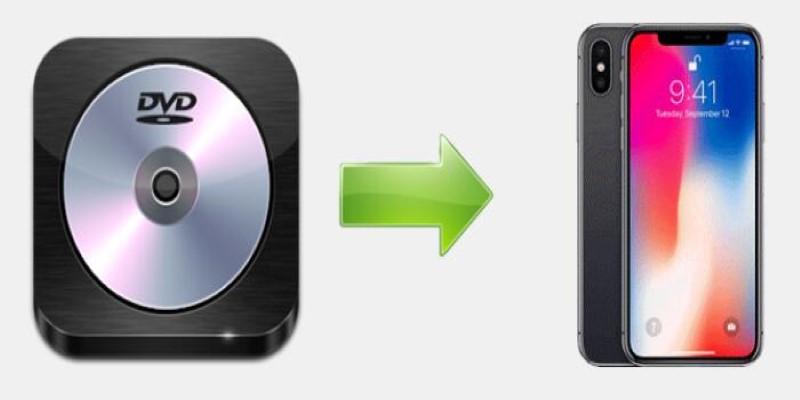
After ripping the DVD and converting the file, the next step is moving the video to your device.
If you’re using macOS Catalina or later, skip iTunes and use Finder:
- Connect your device via USB.
- Open Finder and select your device from the left panel.
- Click the Movies tab (or drag the file directly into the device’s window).
- Drag and drop the MP4 file into the window.
- Sync your device.
If you’re on an older macOS version or using Windows, you’ll use iTunes:
- Connect your iPad, iPhone, or iPod Touch.
- Open iTunes and find your device.
- Go to the Movies section.
- Drag the video file into your iTunes library if it’s not there already.
- Check the video in the sync options and hit Apply or Sync.
Now the video should appear on the TV or Videos app on your device, depending on the iOS version.
Optional Things You Can Try
Need It on Another Device? No Problem
While Apple devices are the focus here, the same MP4 file you got from HandBrake will work on other devices too—Android phones, smart TVs, laptops, and more. You just need to copy the file like you would any other video. For Android, use a USB cable and drag the file into the Movies folder. For cloud-based access, upload it to Google Drive or Dropbox and stream it directly.
What About Quality and File Size?
If you’re working with a long video or want to save space on your device, you can adjust the settings in HandBrake before ripping. Lowering the resolution or using a more efficient encoder like H.265 can cut down the file size. Just know that older devices might not support every video format, so stick with the recommended Apple presets if you’re unsure.
Subtitles or Chapters? You Can Keep Those Too
One neat part of using a good ripper like HandBrake is that you can include subtitles or even DVD chapter markers in your converted file. If your homemade DVD has subtitles (some do, especially if you added them in your video editor), you can check a box to include them. The same goes for chapters; it's great for skipping around in a long video.
Don't want to use iTunes at all? Try These Alternatives
If you’re not a fan of iTunes or Finder syncing, apps like VLC for Mobile, Infuse, or Documents by Readdle let you transfer and watch videos without going through Apple’s ecosystem.
You just open the app on your device, use Wi-Fi transfer or cloud upload, and drop the video file in. It’s a more flexible option if you’re constantly moving videos around or if you’re sharing files with other devices.
Wrapping It Up
Moving a homemade DVD to your iPad, iPhone, or iPod Touch might feel like a tech chore at first, but it’s pretty smooth once you’ve got the hang of it. You’ll have your favorite personal videos ready to play wherever you are—no discs, no cables, just your device and a screen.
So, dust off those old DVDs. They've got more life left in them than you think. Want them on your phone for a long flight or to show off at a family gathering? Now you know exactly how to do it.
On this page
What You’ll Need Before You Start Step 1: Rip the DVD to Your Computer Step 2: Transfer the File to Your Apple Device Optional Things You Can Try Need It on Another Device? No Problem What About Quality and File Size? Subtitles or Chapters? You Can Keep Those Too Don't want to use iTunes at all? Try These Alternatives Wrapping It UpAdvertisement
Related Articles

Understanding the Differences Between Claude and ChatGPT in 2025
Edit Videos for Free: Using Blender and Other Top Alternatives
How to Edit Voice Over Videos Smoothly Without Overcomplicating It

Pipedrive vs. Trello: Which CRM Tool Should You Choose in 2025

10 Songs That Make Graduation and Wedding Slideshows Stand Out
Best Vlog Editors for Every Device: 8 Tools You Should Try

Great iMovie Replacements for PC with Smart Editing Features
Top 10 Media Player Alternatives to Windows Media Player
6 Linux Screen Recorders for Minimized App Capture
Turn iPhone Live Photos into Shareable Videos
AVS Video Editor: What It Does Well and What Others Do Better
 novityinfo